Ever pulled out a flat, dense loaf from your bread machine and wondered what went wrong? Dough that won’t rise in your automatic bread machine is a common snag, but you can fix it fast. This guide breaks down the top causes like yeast issues or wrong temperatures, plus easy steps to bake fluffy bread next time.
The Disappointment Of Dough That Did Not Rise Well
Baking bread at home feels great until the dough sits flat in your machine. That stubborn loaf refuses to puff up, leaving you with a dense brick instead of soft slices. Many home bakers face this issue, especially with automatic bread machines that promise easy results.
The problem often stems from simple oversights in the recipe or setup. Yeast, the tiny powerhouse behind the rise, needs the right conditions to work its magic. Without a good rise, your bread lacks air pockets and that light texture everyone craves.
Figure Out Why The Dough Stays Flat
Start by checking your yeast. Fresh yeast activates quickly and multiplies in warm water, creating gas that lifts the dough. If it’s old or dead, nothing happens. Test it by mixing a teaspoon in a cup of warm water with a pinch of sugar. Bubbles should form in five to ten minutes. No foam? Toss it and grab a new packet. Active dry yeast lasts about two years if stored cool and dry, but heat or moisture can kill it fast.
Temperature plays a huge role too. Your kitchen might feel cozy, but the dough needs steady warmth around 80 degrees Fahrenheit. Cold ingredients straight from the fridge slow everything down. Let flour, water, and milk sit out for 30 minutes before adding them. Most bread machines have a preheat cycle, so that should solve the problem of ingredients having a cold, cold feeling.
Water amount matters just as much. Too much makes the dough sticky; too little turns it into a dry lump that can’t expand. Measure the water with a clear cup at eye level to avoid guesswork. Soft water works best, but if yours is hard with minerals, add a teaspoon of vinegar to balance it out. Salt also affects the rise: too much slows yeast, so stick to one teaspoon per loaf.
A Glitch In The Bread Machine
Machine glitches can sneak in as well. Worn paddles or a faulty heating element might not knead or warm properly. Clean the pan after each use to remove old dough bits that block even kneading.
Some bread machines have automatic yeast dispensers that automatically add the yeast, keeping it from early contact with liquids. If you have one of those rare bread machine models, then do not add the yeast into the bread pan with the other ingredients. Instead, add the yeast into the yeast dispenser.
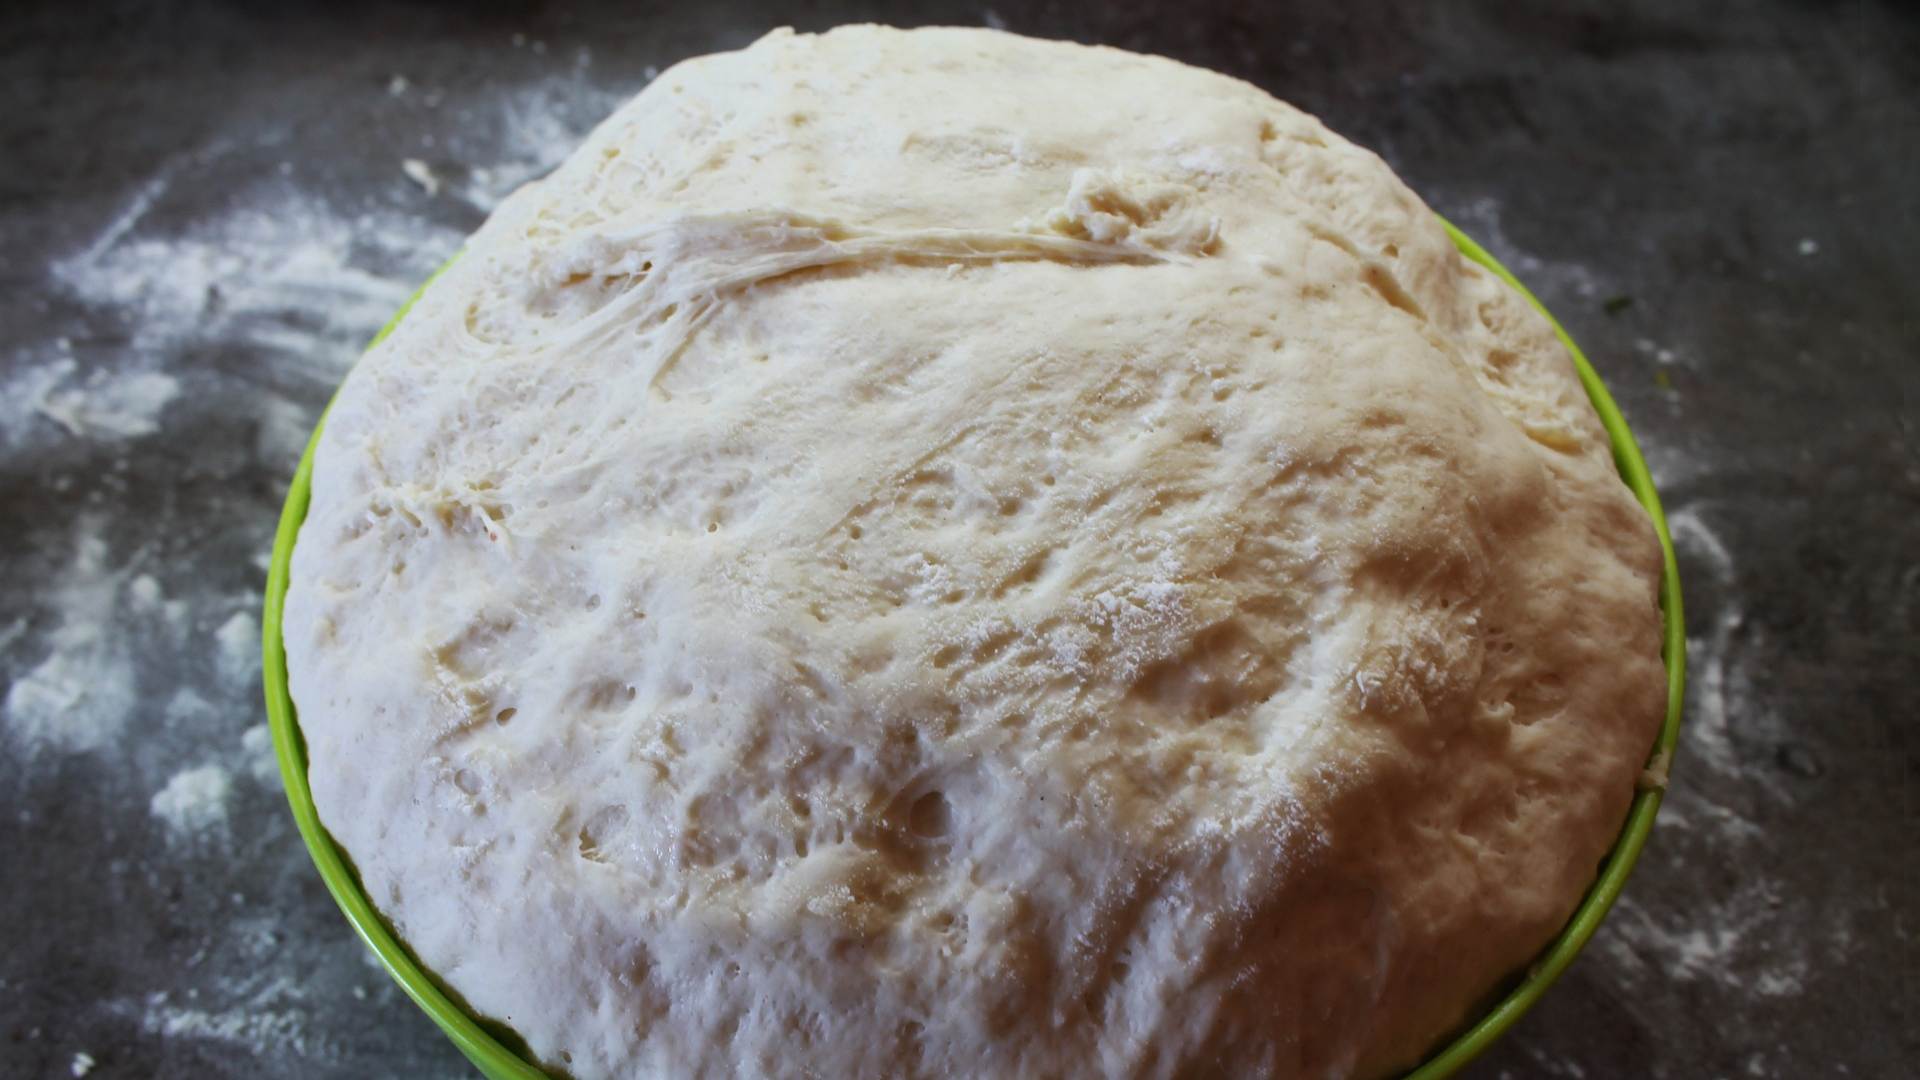
Keeping Your Eye On The Dough Ball
Bakers often share stories of ruined batches from rushed steps. One tip from long-time users: always weigh ingredients instead of scooping flour, which packs air and throws off ratios. This small change can save your next loaf.
Once you fix the basics, watch the dough ball form. It should look smooth and pull away from the sides. If it’s sticky, add flour one tablespoon at a time. Too stiff? Drizzle in water drop by drop. Poke the top of the dough ball gently: it should spring back slowly.
Conclusion
Troubleshoot your automatic bread machine by starting with fresh yeast and exact measurements to get that dough rising just right. Use ingredients when they are at room temperature (80ºF to 90°F), and avoid hot or cold water for steady results every bake.
Grab your ingredients today and turn flat loaves into fluffy favorites. With these tweaks, your bread machine should deliver tall, golden loaves that fill your home with fresh-baked smells. Keep experimenting, and soon flat dough might become a thing of the past.